Curious about how we create custom embroidery shirts or hats and the embroidery process? Just one of our MANY services! View our video to learn more.
- Logo Inspection
- The customer’s design is inspected carefully to make sure it’s high enough quality to replicate and to see if any modifications need to be made for embroidery.
- Digitizing
- Using a digitizing program, we recreate the logo from the ground up, making sure the embroidery machines know the best way to stitch out the design. This is the most crucial step as poor digitizing will result in poor design quality.
- Thread Match/Apply
- The custom embroidery design is compared to a color swatch book of available thread colors and is programmed into the design with the best match.
- Print Worksheet
- A digitizing worksheet is saved into our cloud and physically printed. This worksheet lists all of the details for the design so that the embroidery is consistent for every order!
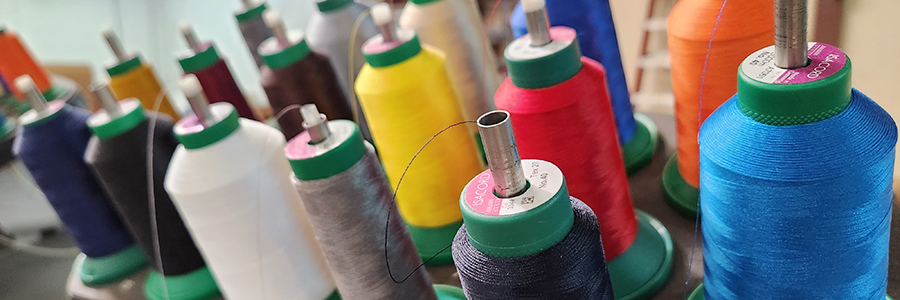
- Load Thread Spools
- The machines are loaded with the design’s thread spool color(s), which are provided on the digitizing worksheet.
- Load Design Into DesignShop
- Using an embroidery program, we load the digitizing file into our embroidery machines and assign the correct thread spools to their appropriate color sequences.
- Load Bobbin
- The bobbin and thread are loaded, ensuring that the design’s thread is tied off on the other side of the garment and doesn’t come loose.
- Hoop Garment w/ Backing
- Garment is hooped, pending on its type (cap VS flat), and backing is added for extra stability.
- Run Design
- After double-checking the imprint size, the design is cued to begin.
- Product Cleaning & Inspection
- Excess backing and thread is removed during the “cleaning” process, and individual product goes through final inspection.